# we assume you have a PC with Windows system and 7zip (or Winrar) installed
# and GParted Live USB stick bootable

# more info on GParted website to create your a bootable Live system)
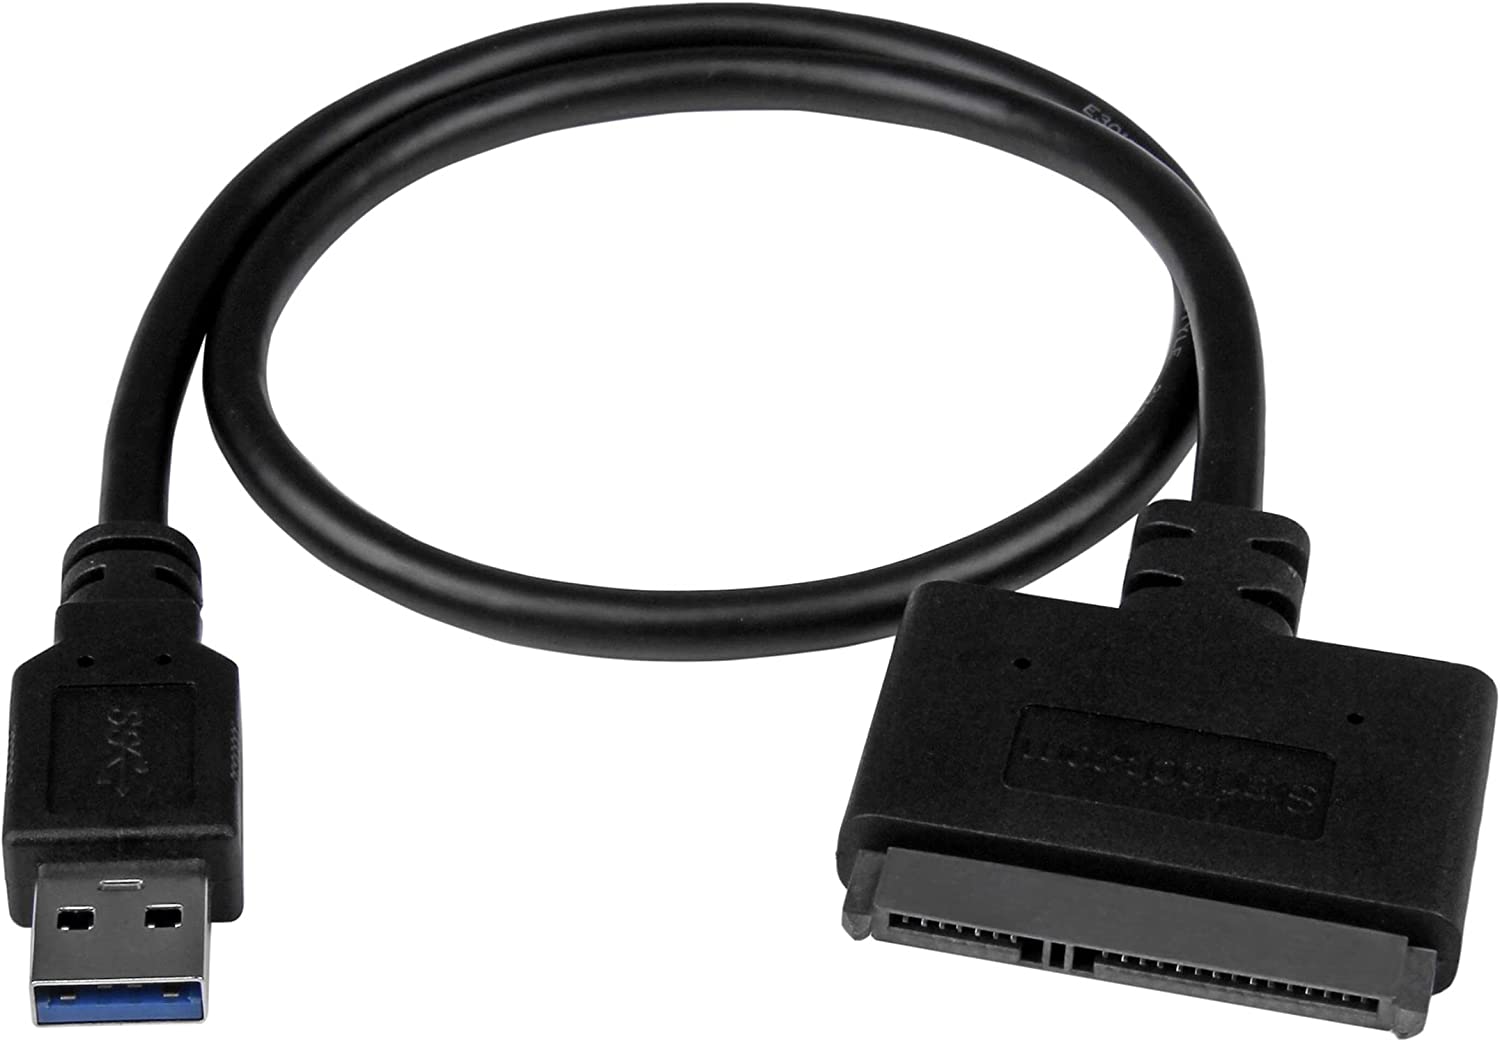
# and another USB drive for the image disk
WINDOWS PC
# download the distribution from our website/github and extract it with 7zip (or Winrar)
# insert your USB drive and format it using NTFS with for example ‘imgdisk’ name
# then copy the extracted image disk (.img) from Windows to your USB drive
# optional: rename image disk to musiclounge.img or medialounge.img
BAREBONE PC (HTPC)
# insert the the GParted Live USB, the imgdisk usb stick, plug a keyboard (and optionally a mouse)
# and turn the HTPC ON
# quickly hit F10 (NUC) or F12 to show up the boot menu
# boot UEFI:disk corresponding to GParted live USB
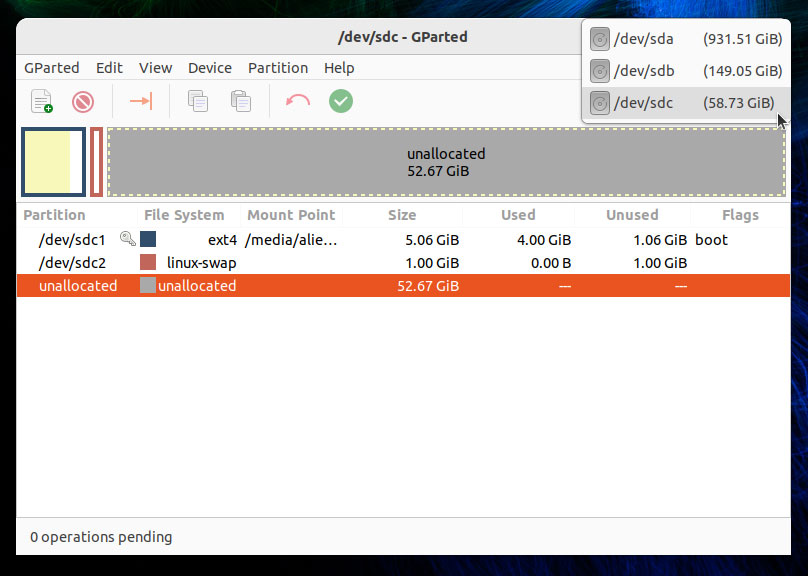
# GParted app should be opened so you can identify easily
# your internal hard drive (/dev/sda) and your USB stick ‘imgdisk’ (/dev/sdX)
# in our example:
internal hard drive (ssd): /dev/sda
imgdisk partition 1: /dev/sdb1
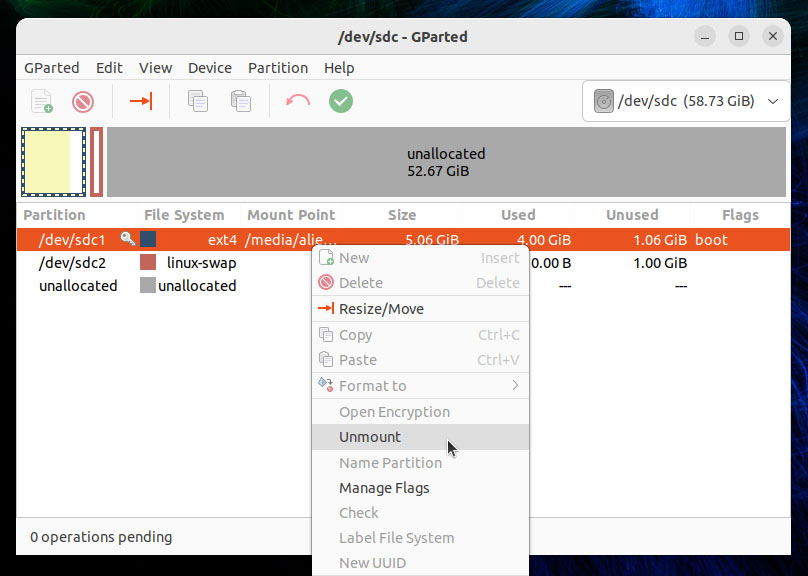
# QUIT GParted app
# open terminal with root permissions
# mount your usb imgdisk
$ mount /dev/sdX /media
$ cd /media
$ ls

# IMPORTANT: check the integrity of the image disk
$ sha1sum medialounge....img
![]()
# compare the result with the SHA1 line on website
# if this doesn’t match then your image disk is corrupted, you can’t go further until your img disk is clean
# clone from image disk to your internal disk (/dev/sda)
# ALL DATA IN INTERNAL HARD DRIVE/SSD WILL BE ERASED
$ sudo dd if=musiclounge.img of=/dev/sda bs=2048 status=progress

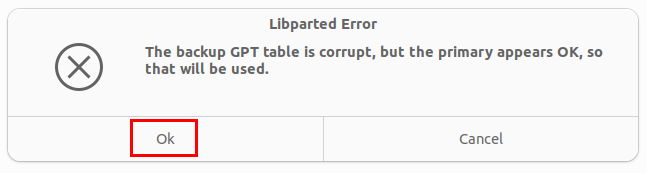
# then fix gpt backup header/table on the target disk
$ sudo sgdisk -e /dev/sda
![]()
# unmount /media
$ cd /
$ umount /media
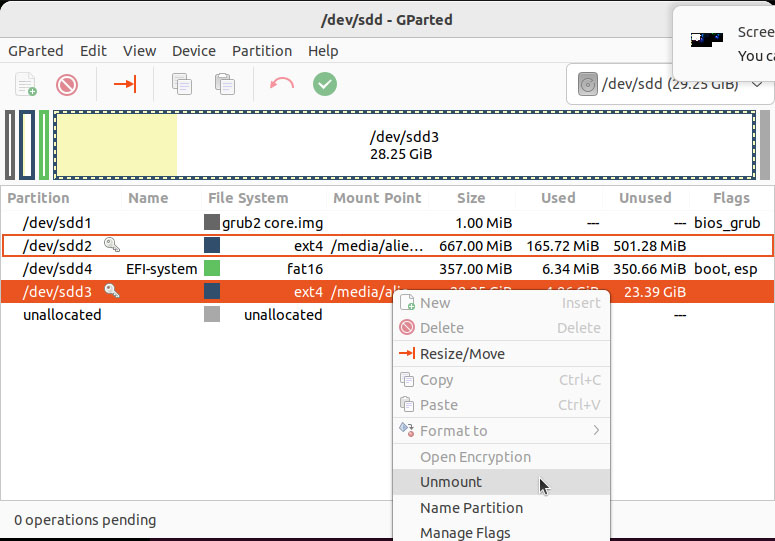
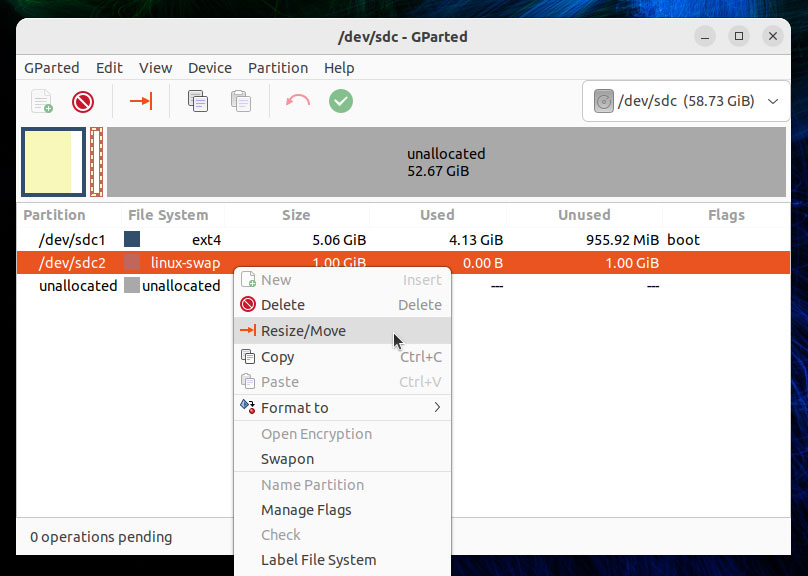
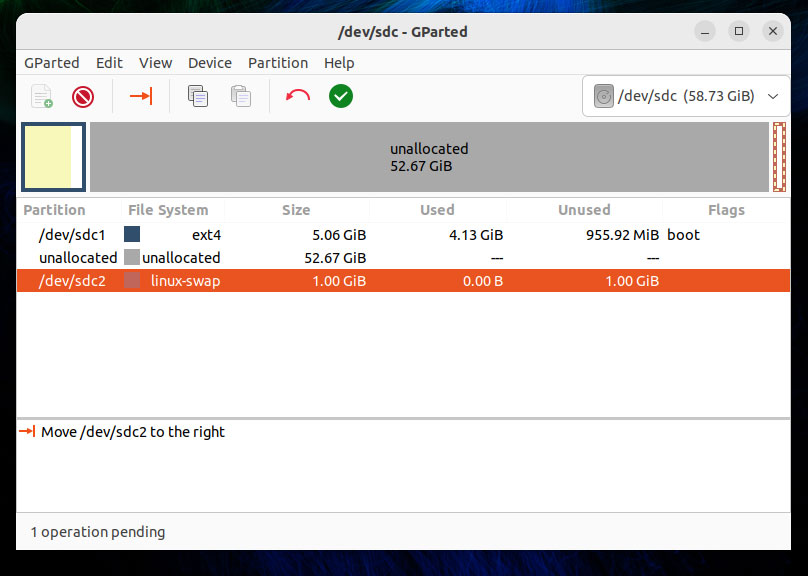
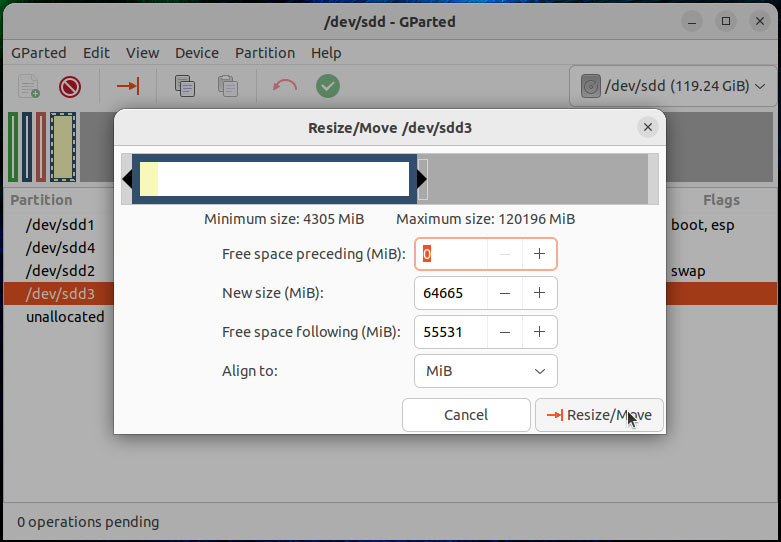
# now launch GParted app to resize the root partition (3) of your internal disk (/dev/sda3)
# double-check and APPLY all changes
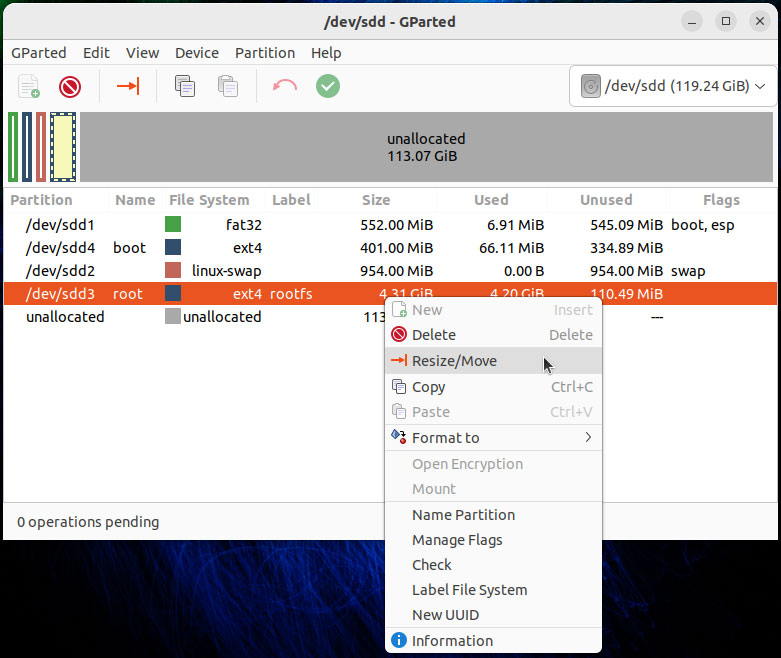
# expand partition 3 (minimum 16GB)

# shutdown your HTPC
# remove both GParted live usb and imgdisk usb drive
# congrats! You are now ready to enjoy your distribution